
Engraved panel lines were a radical idea in 1978. They’re still the single reason this Revell G-10 holds its own against modern competition. Here’s the engineering behind the longevity.
The modern scale modeling market has a complexity problem. Premium multimedia kits from Eduard, Tamiya, and Zvezda continue raising the bar for accuracy and detail, but for a growing segment of U.S. hobbyists—particularly newcomers searching for the best model airplane kits without drowning in a sea of photo-etched brass—that bar may now be too high. Advanced Modeler Syndrome (AMS), the hobby’s own term for the paralysis that comes with over-engineering, is real, and it fills shelves with abandoned, half-built kits. This evaluation puts the Revell 1/48 Messerschmitt Bf 109G-10 (Item 15873) through a Real-World Utility Test focused on a single question: does this 40-part, budget-priced vintage kit actually help beginners finish a model—or does it simply delay the inevitable trip to the Shelf of Doom?
Brief Overview
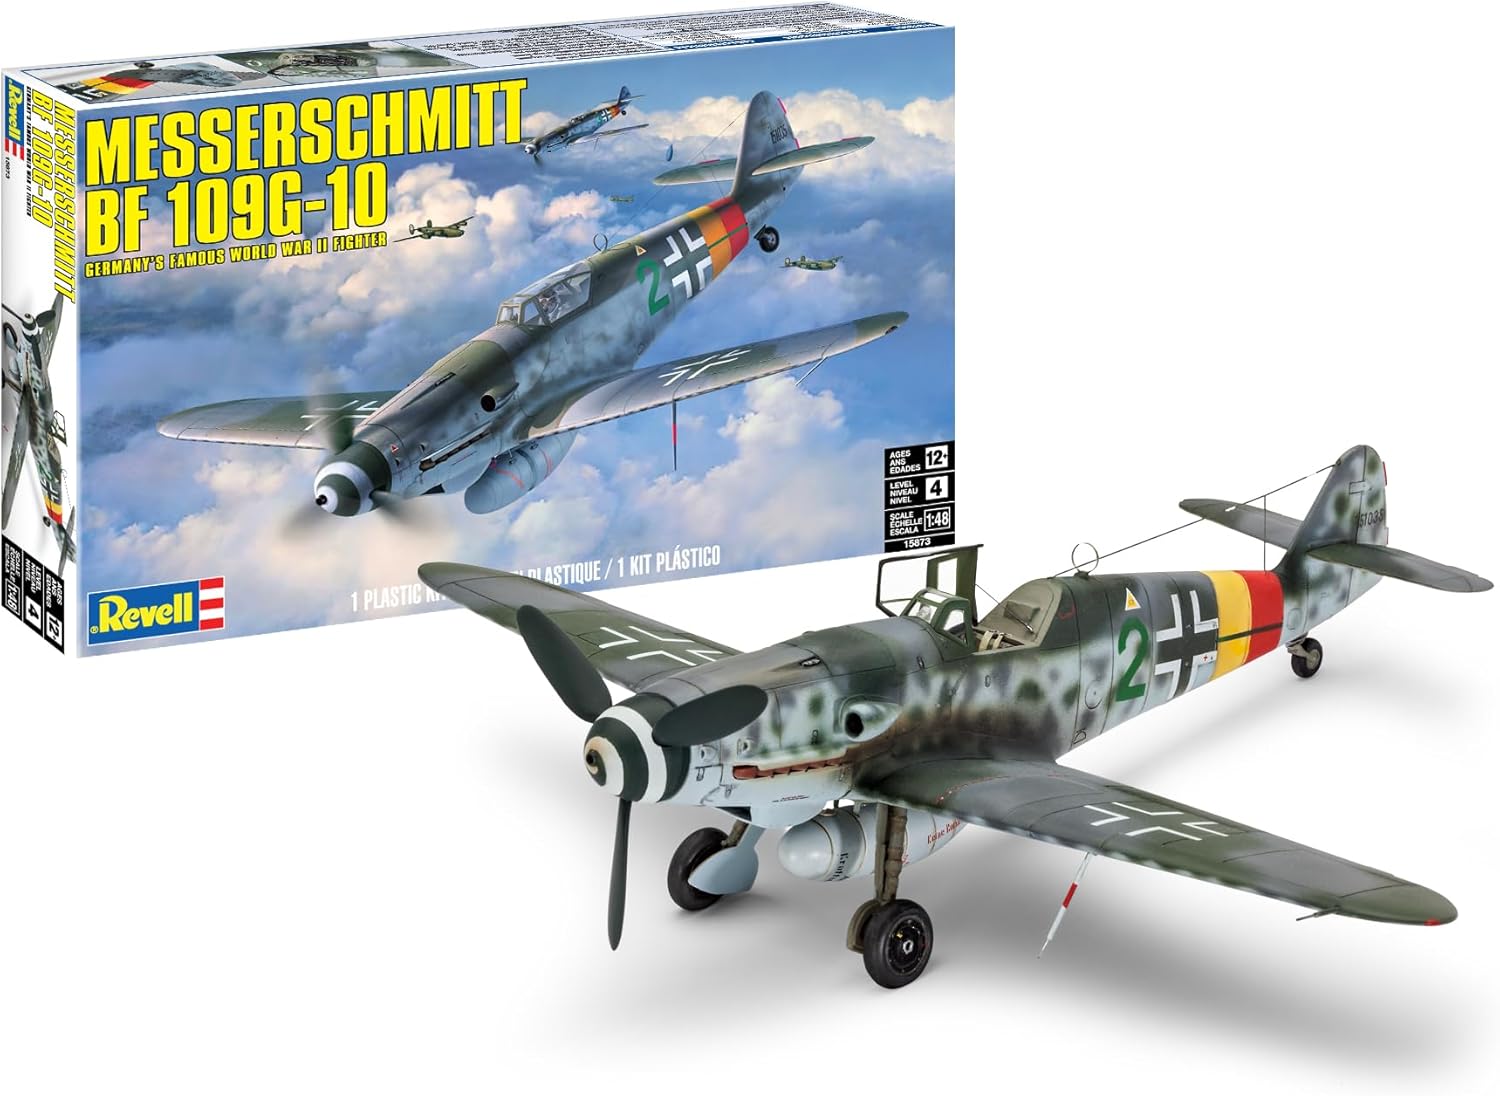
The Revell 1/48 Bf 109G-10 (Item 15873) is an injection-molded polystyrene static kit comprising exactly 40 parts, molded in light gray and clear plastic. The tooling dates to 1978, and while that vintage provenance might raise eyebrows, the mold punched well above its weight class from the start: it was among the first in its era to feature fully engraved, recessed panel lines rather than the fragile raised rivet detail that plagued most contemporaries. That single design decision is why the kit remains visually competitive today.
The specific subject is the late-war G-10 variant, an Erla-factory-built airframe identifiable by its refined, asymmetrical cowling panels—absent the blister fairings found on aircraft from the WNF or Messerschmitt Regensburg facilities. The included waterslide decals represent an aircraft assigned to IV./JG301 at Stendal, Spring 1945, a unit known for its Wilde Sau (Wild Boar) night-defense operations.
Target Audience
This kit squarely targets beginner U.S. modelers transitioning from snap-together kits into the 1/48 scale world, as well as budget-conscious hobbyists who want to build Out-of-the-Box (OOB)—the IPMS/USA competition philosophy that emphasizes fundamental construction skills over costly aftermarket upgrades.
Cool Features
- 40-part count: Keeps assembly fatigue to a minimum and accelerates the transition from sprue to paintbrush.
- Engraved panel lines: Accept capillary pin washes cleanly—a rare asset in a 1978-era mold.
- Display flexibility: Movable propeller assembly, optional-position landing gear, and an included long-range drop tank offer multiple configuration choices without structural surgery.
- Intuitive fuselage join: The primary halves mate with minimal step or gap, requiring little putty work to achieve a smooth seam.
➤ Ready to add this classic to your workbench? Check current price and availability on Amazon.
Pros & Cons
| Pros | Cons |
| Low part count — 40 components eliminate assembly paralysis and keep beginners motivated through completion. | Fixed control surfaces — Flaps, leading-edge slats, and elevators are all molded neutral; repositioning requires cutting and careful scratch work. |
| Crisp engraved panel lines — The recessed detailing is exceptional for its era and ideal for practicing capillary pin washes and pre-shading techniques. | Canopy fitment gaps — The clear windshield and canopy exhibit noticeable gaps in the closed position, requiring clamping and gap-filling with PVA-based canopy glue. |
| Strong core fit — Fuselage halves and wing-root joins align cleanly, minimizing the filler-and-sand cycle that so often kills beginner momentum. | Basic cockpit interior — The instrument panel relies on a decal over a flat panel; no raised bezels, and no provisions for PE or resin upgrades without modification. |
| High relative value — Delivers an accurately shaped, historically specific replica at a fraction of the investment required by premium imports. | Molded copyright text — Manufacturer copyright text is embossed on the underside of the horizontal stabilizers and requires sanding to remove cleanly. |
| Low-risk learning platform — The approachable price point removes the anxiety of experimenting with new paints, thinners, and weathering techniques. |
Where the Revell 1/48 Messerschmitt Bf 109G-10 Really Shines
There’s a moment in every good build where the model stops feeling like an assembly project and starts feeling like a miniature aircraft. The Revell G-10 gets you to that moment more quickly than most vintage 1/48 Luftwaffe offerings at this price point—and that efficiency is its single greatest virtue.
The Workbench Reality
Because the kit contains only 40 parts, gate and flash cleanup is measured in minutes rather than evenings. The gates are positioned to prevent accidental damage to surrounding surfaces, and the parts drop cleanly from the runner. Following the essential “dry-fit twice, glue once” methodology, the fuselage halves mate cleanly. Thin liquid plastic cement applied by capillary action—touching the brush tip to the assembled seam and allowing the solvent to wick in—produces a chemically fused joint with virtually no surface distortion. The wing-to-fuselage join, the single area most likely to expose poor mold engineering, requires only a light sanding pass. The characteristic narrow-track undercarriage of the Bf 109 demands a measured eye when setting the landing gear splay, but the struts seat with satisfying rigidity once aligned.
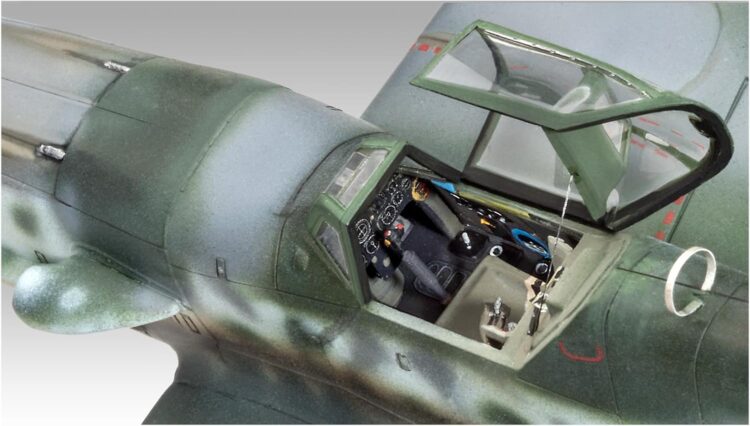
Cockpit and Clear Parts
The cockpit sub-assembly introduces basic skills without overwhelming the newcomer. The instrument panel decal doesn’t conform to the contoured plastic in one shot—it requires cutting into sections and careful application of Micro Set followed by Micro Sol to coax the carrier film flat. That’s a feature disguised as a limitation: it’s exactly the kind of controlled challenge that builds decal-handling confidence. Beginner fabricators can also cut strips of masking tape and thin styrene sheet into improvised seatbelts, providing a low-stakes introduction to scratchbuilding.
The clear parts demand specific adhesives. Standard plastic cement will fog or craze clear styrene—the solvent vapors alone are sufficient to damage the transparent surface, even without direct contact. Formula 560 (PVA-based canopy glue) bridges the minor fitment gaps without vapor damage, drying crystal clear.
Painting and Weathering
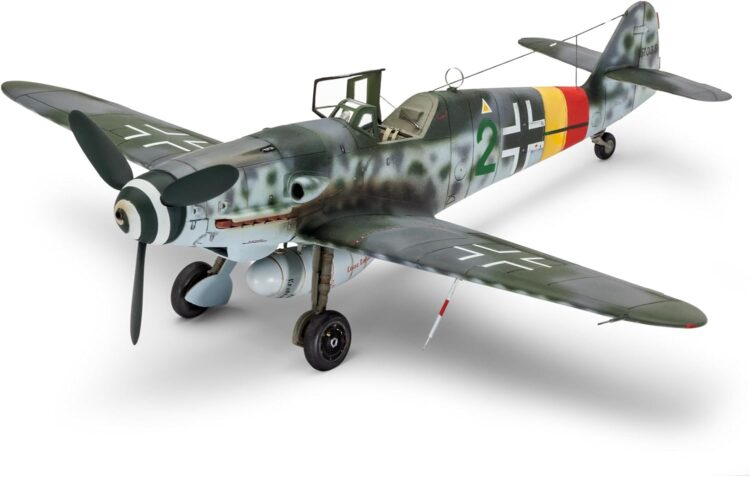
The real return on investment arrives in the paint booth. One early checkpoint worth flagging: the kit instructions suggest RLM 82 for the upper surface camouflage, but historical analysis indicates that callout may be inaccurate for this specific Erla-built airframe. The historically supported scheme calls for RLM 74 (Dark Grey) and RLM 75 (Grey-Violet) over an RLM 76 (Light Blue) base—and that discrepancy is exactly the kind of detail a beginning modeler, trusting the instruction sheet without question, would never catch. Getting it right rewards the extra five minutes of research. With the correct colors selected, the late-war Bf 109G-10 scheme—with its characteristic fuselage mottling—is one of the most visually rewarding subjects available in 1/48. The engraved panel lines provide a topographical map for pre-shading: spraying matte black along the recessed lines before laying down the base coat creates artificial shadows that simulate the grime of a combat-worn airframe. The crisp depth of the 1978 mold accepts these techniques far better than the raised lines found on most competitors from the same period.
There’s an additional finishing option that history hands directly to the builder: many late-war G-10 airframes rolled off the Erla line with wing undersides that were left partially unpainted, the accelerating pace of 1945 production taking precedence over a complete finish. That bare aluminum area provides a low-stakes opportunity to practice a Natural Metal Finish (NMF) alongside the standard RLM 76, introducing two entirely different painting disciplines within the same build.
Mottling—applying heavily thinned paint at very low PSI in soft, irregular stippled spots along the fuselage sides—demands patience and airbrush control. Because this kit is relatively inexpensive, the psychological freedom to experiment, adjust paint-to-thinner ratios, and correct mistakes without wincing at the cost is genuine and valuable. Once the camouflage is complete, the model must be sealed under a high-quality gloss coat before any waterslide transfers go down. This step is non-negotiable: decals applied directly to a matte surface will silver, trapping microscopic air bubbles beneath the clear carrier film and destroying the painted-on illusion. Johnson’s Future Floor Polish—since rebranded as Pledge Floor Gloss—remains the American modeler’s benchmark for this barrier coat, producing the glass-like surface that waterslides require. The kit’s specific markings for IV./JG301 present their own workbench challenges. The spiral decal intended for the propeller spinner is notoriously difficult, frequently proving slightly too large for the conical surface; setting solutions and careful slicing are required to coax it into conformity without wrinkling. The long walkway boundary lines along the wing surfaces are best managed by cutting the decal sheet into smaller sections before soaking, rather than attempting to lay the full strip in a single application.
The weathering cycle completes with a localized enamel or oil paint pin wash flowed into the panel lines, followed by chipping around the cockpit sill and cowl fasteners, then sealed under a coat of flat lacquer such as Dullcote to eliminate unrealistic shine and marry the decals to the surrounding paintwork.
The end result is a finished warbird on the display shelf—not another box buried in the stash.
➤ Check current price and availability on Amazon.
Who Should Buy It
Against the current 1/48 Bf 109G-10 competition, the Revell kit occupies a specific and defensible niche. Eduard’s ProfiPACK series is the detail benchmark, but its nearly 190-part count—with dozens of components marked “not for use”—is a documented source of beginner frustration. Hasegawa’s G-10 is a cleaner, simpler build, but commands a premium on the secondary market and the tooling shows its age. Tamiya produces the most user-friendly 109s available, but their current catalog covers only the E-series and G-6 variants; the late-war G-10 is simply not in their lineup. Zvezda’s F-series offers solid accuracy but similarly complex engineering.
The Revell G-10 is the right kit for the beginner who wants to practice seam work, capillary gluing, and complex RLM camouflage mottling without risking a premium import. It suits the weekend builder looking for a stress-free palate cleanser after a complicated build, and the OOB competitor developing IPMS-standard construction fundamentals. Self-described “rivet counters” demanding hyper-specific Erla-factory cowling geometry or separate leading-edge slats will find the 1978 tooling inadequate. For everyone else, the value-to-performance ratio is difficult to argue with.

Key Takeaways
- At just 40 parts, the kit virtually eliminates assembly fatigue—an ideal entry point for beginners transitioning to 1/48 scale.
- Crisply engraved recessed panel lines, rare for a 1978 tooling, accept capillary pin washes and pre-shading techniques with excellent results.
- Overall shape is historically accurate for its vintage; purists seeking Erla-specific cowling nuances will need a different kit.
- Minor hurdles—closed-canopy fitment gaps and fixed control surfaces—are manageable with basic dry-fitting and PVA canopy adhesive.
- The low price point provides a low-risk platform for testing airbrush skills, RLM camouflage mottling, and weathering techniques without fear of ruining a costly premium import.